

Applying silicone adhesive evenly is crucial for achieving optimal results in various projects, whether it's a DIY home repair or a large - scale industrial application. As a silicone adhesive supplier, I've seen firsthand the difference that proper application can make. In this blog, I'll share some in - depth tips on how to apply silicone adhesive evenly.
Preparation
Before you start applying the silicone adhesive, thorough preparation is essential. First, clean the surfaces where the adhesive will be applied. Use a suitable cleaner to remove dirt, grease, oil, and any other contaminants. For example, if you're working on a metal surface, a degreaser can be very effective. For plastic or glass, a mild detergent and water solution can do the trick. After cleaning, dry the surfaces completely. Any moisture left on the surface can prevent the adhesive from bonding properly and may lead to an uneven application.
Next, choose the right tools. A caulking gun is a must - have for most applications. Make sure the caulking gun is in good working condition. Check the trigger mechanism and the rod that pushes the adhesive out. If it's a reusable caulking gun, clean it regularly to ensure smooth operation. You'll also need a putty knife or a silicone smoothing tool. These tools help you spread and shape the adhesive after it's applied.
Selecting the Right Silicone Adhesive
Not all silicone adhesives are created equal. Different projects require different types of silicone adhesives. For example, if you're working on a project that requires high - temperature resistance, you might want to choose a heat - resistant silicone adhesive. If you're sealing a joint in a bathroom or kitchen where there's a lot of moisture, a waterproof silicone adhesive is the way to go.
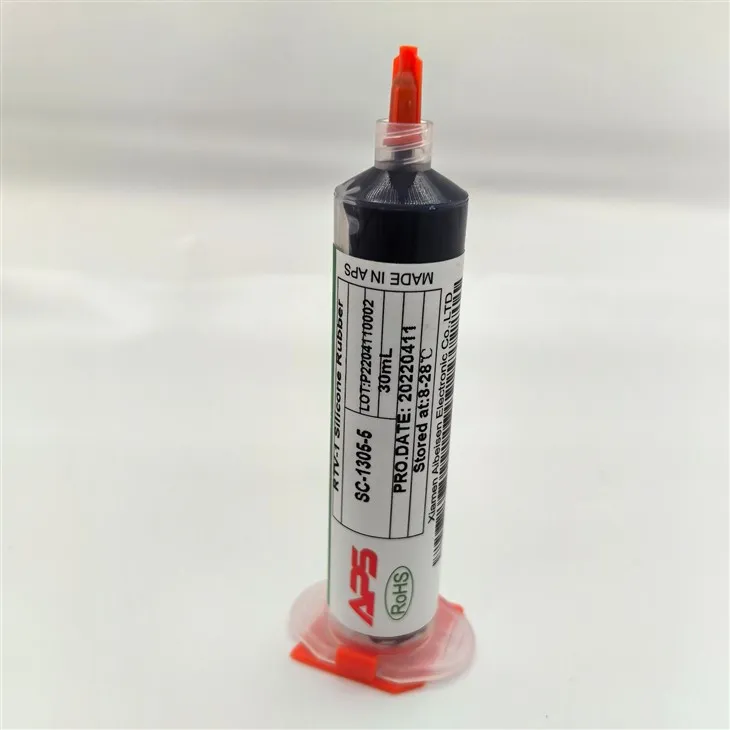
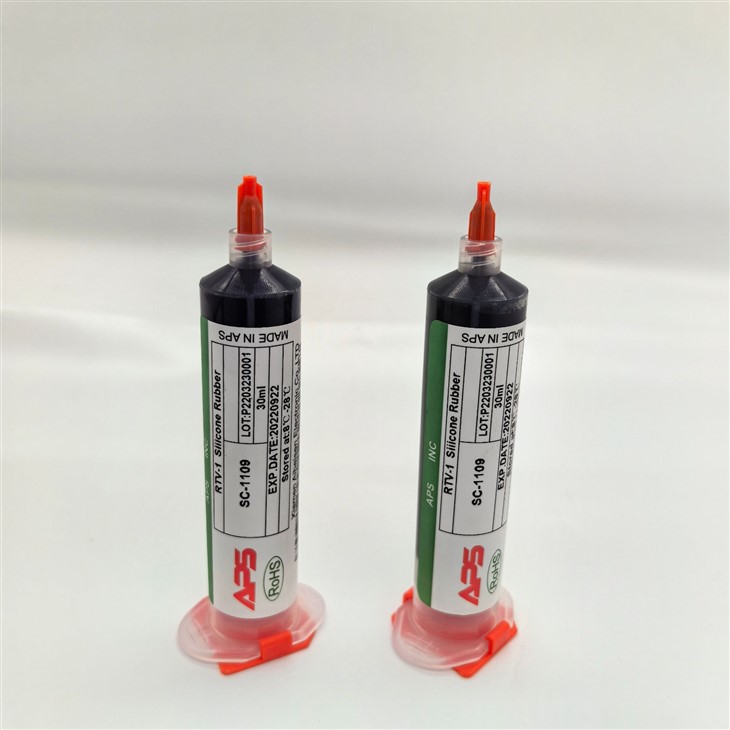
As a silicone adhesive supplier, we offer a wide range of products to meet various needs. Our Black Rtv Silicone Adhesive Sealant is a popular choice for many general - purpose applications. It has excellent adhesion properties and can be used on a variety of surfaces. Our Black Adhesive Sealant Silicone Rtv is also well - regarded for its durability and flexibility.
Loading the Caulking Gun
Once you've selected the right silicone adhesive and prepared the surfaces, it's time to load the caulking gun. If you're using a cartridge of silicone adhesive, remove the cap from the cartridge. Cut the tip of the cartridge at a 45 - degree angle. The size of the opening at the tip depends on the width of the joint or the area where you'll be applying the adhesive. For a narrow joint, a smaller opening is sufficient. For a wider area, you may need to cut the tip to create a larger opening.
Insert the cartridge into the caulking gun. Make sure it fits snugly. Push the rod of the caulking gun into the back of the cartridge to secure it. If you're using a new caulking gun, you may need to prime it by pulling the trigger a few times to get the adhesive flowing.
Applying the Silicone Adhesive
When applying the silicone adhesive, start at one end of the joint or the area. Hold the caulking gun at a 45 - degree angle to the surface. Apply steady pressure on the trigger of the caulking gun. Move the caulking gun slowly and steadily along the joint. Try to maintain a consistent speed and pressure. This will help you apply an even bead of adhesive.
If you're applying the adhesive to a vertical surface, start from the top and work your way down. This helps prevent the adhesive from dripping. If you need to stop applying the adhesive for any reason, release the pressure on the trigger immediately. You can use a putty knife to cut off the excess adhesive at the end of the bead.
Spreading and Smoothing the Adhesive
After applying the silicone adhesive, it's time to spread and smooth it. Use a putty knife or a silicone smoothing tool to spread the adhesive evenly across the joint or the area. Run the tool along the bead of adhesive, applying gentle pressure. This will help fill any gaps and create a smooth, even surface.
You can also use a wet finger to smooth the adhesive. Dip your finger in soapy water and run it along the bead of adhesive. The soapy water helps prevent the adhesive from sticking to your finger. Make sure to clean your finger regularly if you're using this method.
Removing Excess Adhesive
During the application process, there may be some excess adhesive. It's important to remove the excess adhesive while it's still wet. You can use a putty knife or a rag to wipe away the excess. If the adhesive has started to dry, it can be more difficult to remove. In some cases, you may need to use a solvent to dissolve the dried adhesive. However, be careful when using solvents as they can damage some surfaces.
Curing Time
Silicone adhesive needs time to cure. The curing time depends on several factors, such as the type of adhesive, the temperature, and the humidity. In general, most silicone adhesives take 24 to 48 hours to fully cure. During the curing process, avoid touching or disturbing the adhesive. Keep the area well - ventilated to help the adhesive cure properly.
Troubleshooting
Sometimes, things may not go as planned when applying silicone adhesive. If you notice air bubbles in the adhesive, you can use a pin or a needle to pop the bubbles. If the adhesive is not adhering properly to the surface, check if the surface was clean and dry before application. You may need to clean the surface again and re - apply the adhesive.
If the bead of adhesive is uneven, you can use a putty knife to reshape it while it's still wet. If the adhesive has already dried and is uneven, you may need to remove it and start over.
Safety Precautions
When working with silicone adhesive, it's important to take some safety precautions. Wear gloves to protect your hands from the adhesive. Some silicone adhesives can cause skin irritation. Make sure the area is well - ventilated. The fumes from some silicone adhesives can be harmful if inhaled in large quantities.
If you get the adhesive in your eyes, rinse your eyes immediately with plenty of water and seek medical attention. If you accidentally ingest the adhesive, do not induce vomiting. Contact a poison control center or seek medical help right away.
Conclusion
Applying silicone adhesive evenly requires proper preparation, the right tools, and the right technique. By following the tips in this blog, you can achieve a professional - looking result in your projects. As a silicone adhesive supplier, we're committed to providing high - quality products and excellent customer service. If you have any questions about our products or need help with your project, please don't hesitate to contact us for procurement and further discussions. We're here to assist you in finding the best silicone adhesive solutions for your needs.
References
- "Silicone Adhesives: Properties and Applications" - A technical guide on silicone adhesives published by an industry association.
- "Best Practices for Applying Sealants" - A handbook on sealant application techniques from a leading manufacturer.