

Hey there! As a Gap Pad supplier, I've seen firsthand how crucial it is to install these little wonders correctly. Gap Pads are super important in managing heat in all sorts of electronic devices, from your everyday smartphones to high - tech PCBs. Today, I'm gonna walk you through the process of installing Gap Pads correctly, so you can get the most out of 'em.
Understanding Gap Pads First
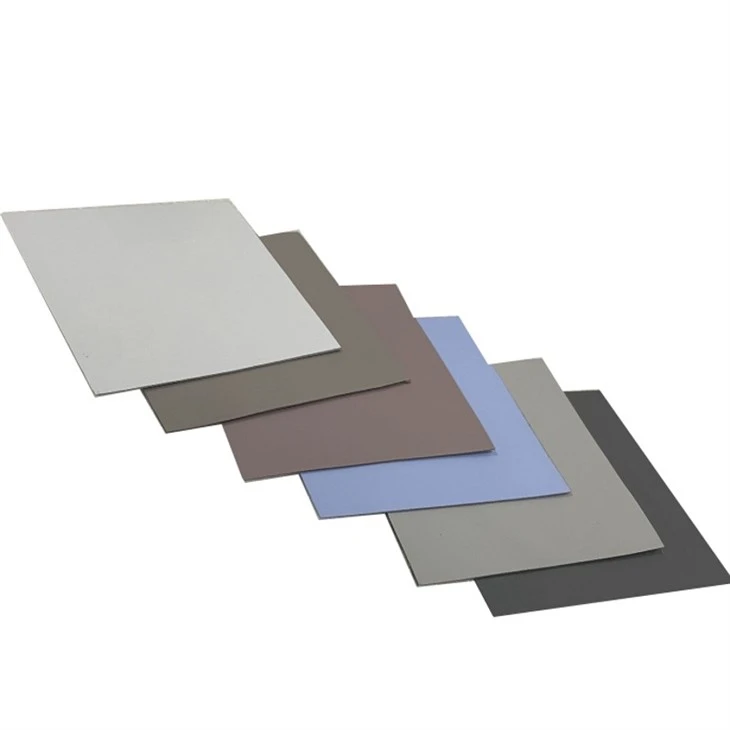
Before we jump into the installation, let's quickly understand what Gap Pads are. Gap Pads are Thermal Interface Material Pad. They help to fill the gaps between heat - generating components and the heat sinks. This maximizes the contact area and improves heat transfer, which keeps your electronics running cool and reduces the risk of overheating.
Gathering Your Tools
First things first, you need to gather the right tools for the job. You'll need:
- A clean, lint - free cloth: To clean the surfaces before installation.
- Tweezers or a flat - edged tool: To handle the Gap Pad without getting fingerprints on it. Fingerprints can reduce the thermal conductivity of the pad.
- The Gap Pad itself: Make sure it's the right size for your application. You don't want it too big or too small.
Cleaning the Surfaces
The surfaces where you're going to place the Gap Pad need to be clean. Any dirt, dust, or old thermal compound can mess up the heat transfer. Use the clean, lint - free cloth to wipe down both the heat - generating component (like a CPU or GPU) and the heat sink. If there's stubborn grime, you can use a bit of isopropyl alcohol, but make sure to let the surfaces dry completely before you move on.
Handling the Gap Pad
When you take the Gap Pad out of its packaging, be careful! These pads are quite delicate. Use the tweezers or flat - edged tool to pick it up. Avoid touching the sticky side of the pad with your fingers. The oil from your skin can create a barrier and reduce the effectiveness of the pad.
Positioning the Gap Pad
Once the surfaces are clean and the pad is in your tweezers, it's time to position it correctly. Line up the Gap Pad with the center of the heat - generating component. For example, if you're working on a Phone Thermal Pad, align it with the processor. Make sure the pad covers the entire surface of the component, but doesn't overhang too much. You want a snug fit.
Applying the Gap Pad
Slowly lower the Gap Pad onto the heat - generating component. Start from one edge and gradually press it down, working your way across. This helps to get rid of any air bubbles that might be trapped between the pad and the component. If you do notice some air bubbles, gently press on them with the flat - edged tool to push the air out.
Attaching the Heat Sink
After the Gap Pad is firmly in place on the component, it's time to attach the heat sink. Carefully place the heat sink on top of the Gap Pad. Make sure it's aligned properly and then apply gentle pressure evenly across the surface of the heat sink. Some heat sinks come with clips or screws. If yours does, follow the manufacturer's instructions to secure it tightly. But remember, don't over - tighten the screws, as this can damage the component or the Gap Pad.
Checking for Proper Fit
Once the heat sink is attached, take a look to make sure everything is in place. Check the edges of the Gap Pad to make sure it hasn't shifted during the heat - sink installation. Also, look for any signs of uneven pressure, like a squished or bulging part of the pad. If you see any issues, you might need to remove the heat sink and re - position the Gap Pad.
Testing the Setup
After the installation is complete, it's time to test the setup. Power on the device and monitor the temperature. You should notice a significant drop in the operating temperature compared to before the installation. If the temperature doesn't go down as expected, there might be an issue with the installation. Check to make sure the Gap Pad is properly seated and that the heat sink is making good contact.
Troubleshooting Common Issues
Air Bubbles
If you find air bubbles in the Gap Pad after installation, try gently pressing on them with a flat tool. If that doesn't work, you might have to remove the heat sink and re - apply the pad.
Pad Shifting
If the Gap Pad has shifted during the heat - sink installation, remove the heat sink carefully, re - position the pad, and then re - attach the heat sink.
Poor Heat Transfer
If the device is still running hot, check for any gaps between the heat sink and the component. You might need to add a bit more pressure or adjust the alignment of the heat sink.

Why Correct Installation Matters
Installing Gap Pads correctly is not just about getting the best heat transfer. It also extends the lifespan of your electronic devices. When components run cool, they're less likely to experience wear and tear due to overheating. This means fewer breakdowns and a longer - lasting device.
For instance, in Thermal Pad in Pcb, a well - installed Gap Pad can prevent hotspots on the board, which can lead to soldering issues and component failure over time.
If You're in the Market for Gap Pads
If you're looking for high - quality Gap Pads for your projects, whether it's for phones, PCBs, or any other electronic devices, I'd be more than happy to help. Correct installation is key, but starting with a great product is just as important. Reach out to us to discuss your specific needs and find the perfect Gap Pad for your application.
References
- Thermal Management Handbook by T. C. Kandlikar
- Electronics Cooling Solutions Guide
- Manufacturer's documentation for Gap Pads and related components